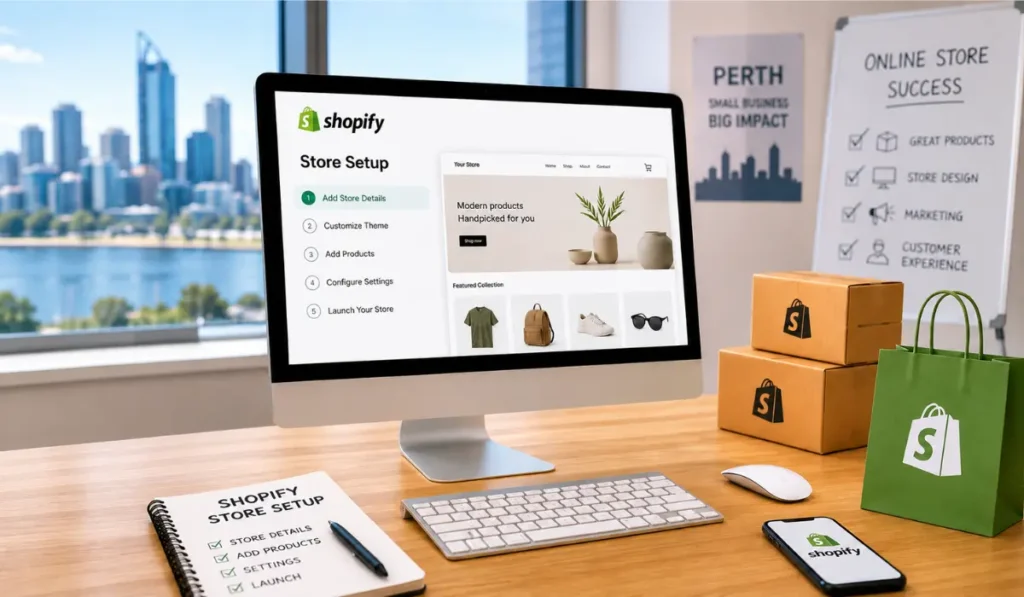
The process generally starts with mapping out collections and navigation before a single product is added, so the store has a clear structure from day one. From there, a theme is chosen and customised to match brand colours, fonts, and layout needs, before products are added with SEO written titles and descriptions. Payments, shipping, and tax are configured and tested with a real transaction, analytics (Google Analytics and the Meta Pixel) are connected before launch rather than after, and everything is checked on mobile, since most Shopify traffic in Perth and everywhere else is mobile-first. A soft launch, where checkout is tested end-to-end with a real card before the store is announced publicly, catches the errors that are far more costly to fix after launch.
Plan Your Store Structure
Start by planning your collections and navigation. A clear structure makes it easier for customers to find products.
Choose and Customise a Theme
Choose a theme that suits your brand and products. Customise the colours, fonts, images, and layout to match your business.
Add and Optimise Products
Add products with clear titles, descriptions, images, prices, and variants. Optimise your product content for search engines and customers.
Configure Payments and Shipping
Set up your preferred payment methods. Then configure shipping rates, delivery zones, and tax settings.
Connect Analytics
Connect Google Analytics and the Meta Pixel before launch. This allows you to track visitors and conversions from the beginning.
Test the Store
Test the store on desktop and mobile devices. Check product pages, navigation, forms, shipping, and checkout.